

KeyShot 2025.1 — Mac version
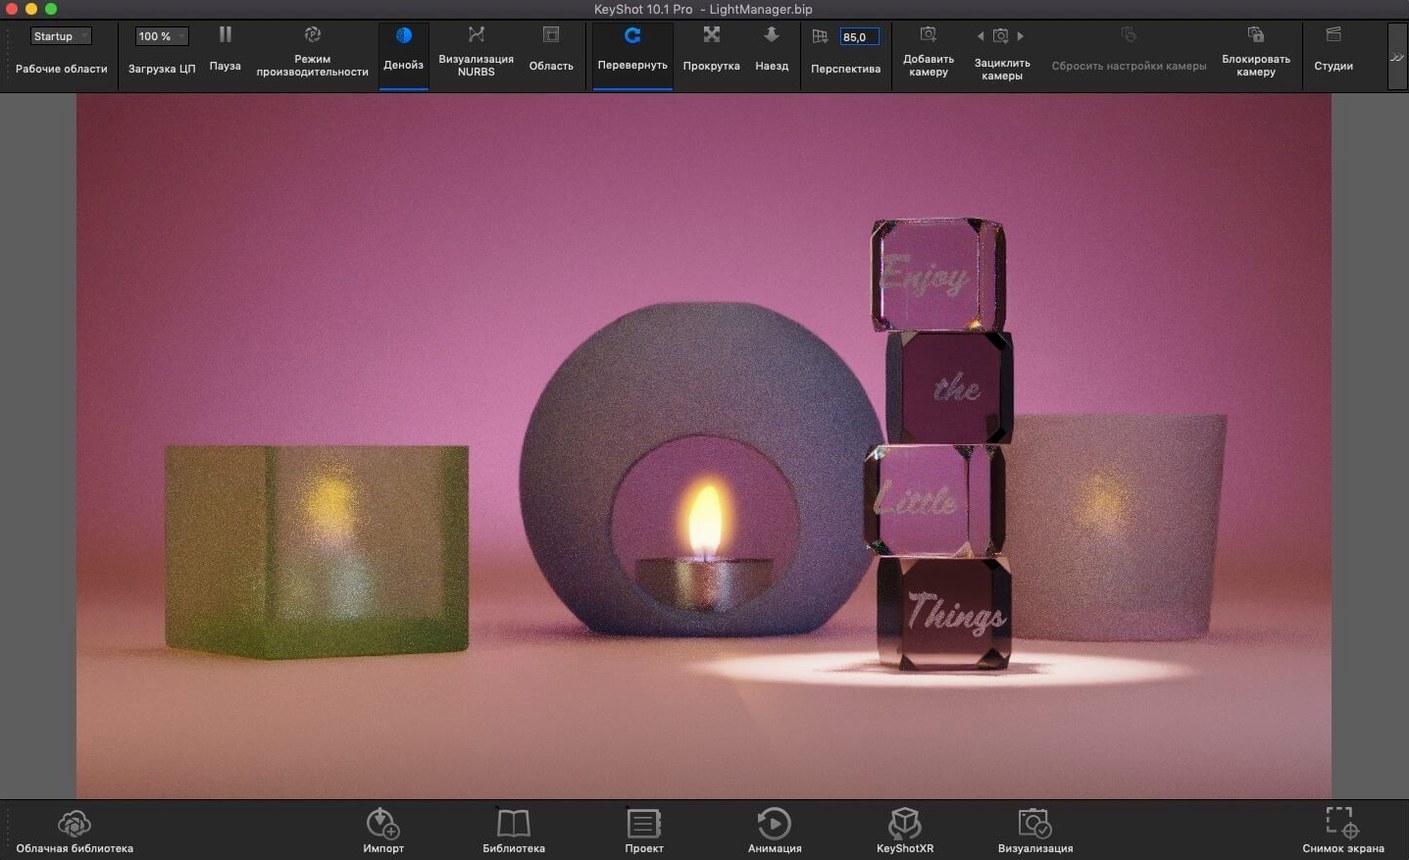
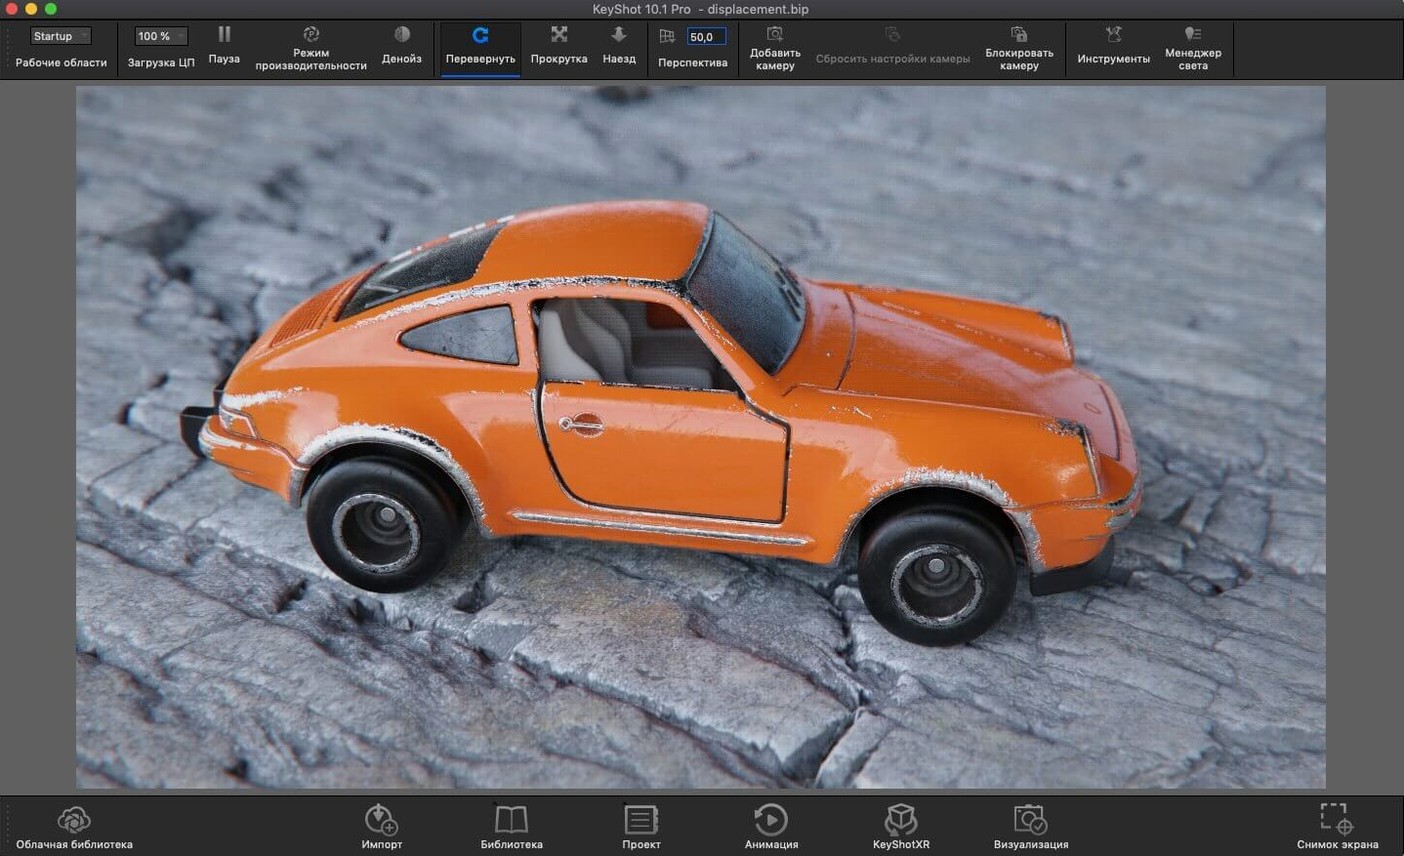
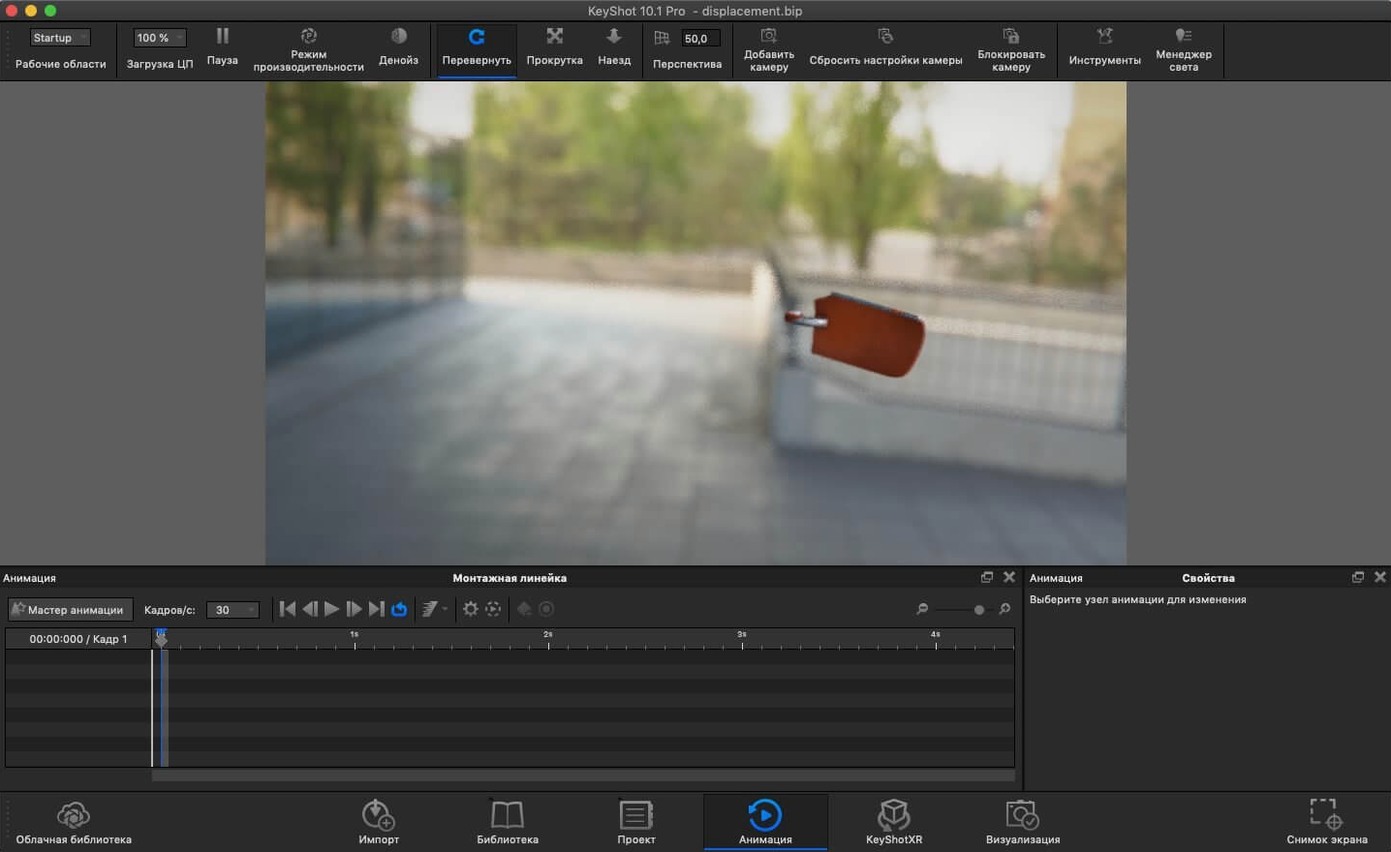
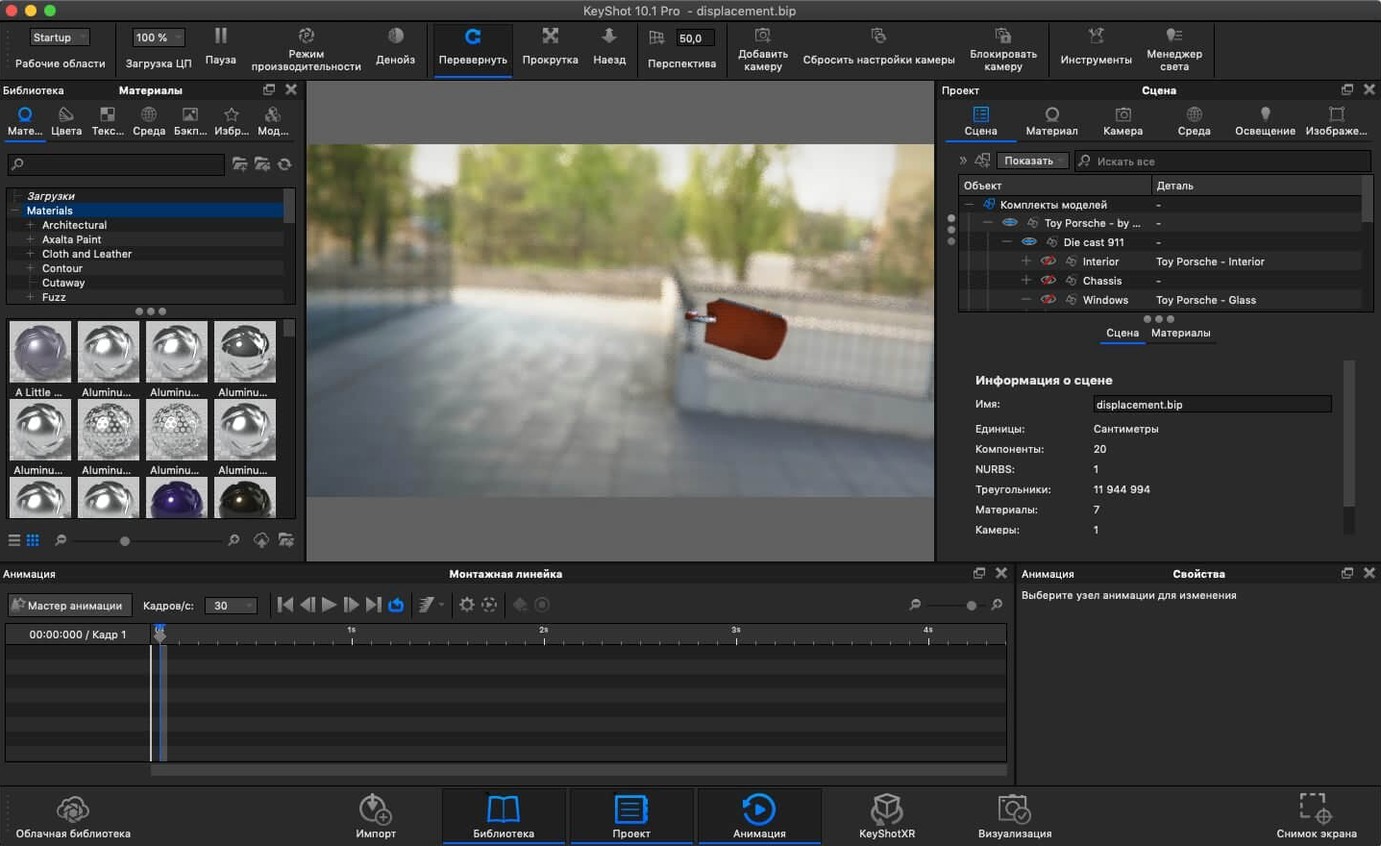
KeyShot is a 3D visualisation tool that leans on physically accurate ray tracing and global illumination to turn your CAD models into polished stills or animations. It’s built for folk who need to check how light behaves, not just how a shape looks.
Building a lighting rig with Physical Lights
The new Light Tool makes placing Physical Lights feel direct. Drag a point, spot, or area light onto the model and watch the real-time viewport react — shadows, fall-off, and colour temperature all update live.
Scripting re-tessellation into your workflow
With the Re-tessellate Tool now exposed in the Scripting API, you can automate mesh refinement for batches of imported parts. Handy when a supplier’s STEP file comes in a bit too faceted and you want smoother curves without manual clean-up.
Exporting clean assets with glTF
glTF export gives you a straight path into web viewers, AR previews, or other 3D apps. Materials and textures travel with the model, so what you see in KeyShot’s viewport holds up in your target environment.
Skip Blender's learning curve, import and drag materials instead
Blender’s Cycles is the obvious comparison. It’s free, open source, and does path tracing well — but it asks you to learn a whole 3D suite first. KeyShot strips that back. You import a model, drag a material on, and the viewport shows you the render as you work. No shader node wrestling unless you want it.
Cinema 4D plus Redshift is another route. That pairing suits motion graphics folk who live in After Effects pipelines. The trade-off is weight: more viewport complexity, more settings, more waiting for feedback. On an older Mac, that combo gets warm quickly. KeyShot keeps the interface lean and the live preview responsive by comparison.
Octane X is the third one people ask about. It’s fast on Apple Silicon and loves metalness-roughness workflows. But it’s pickier about GPUs and drivers. KeyShot’s CPU and GPU hybrid approach means a ten-year-old Intel MacBook can still grind through a product shot, just slower.
Thirty-part CAD assemblies stay interactive on an M1 Air
On an M1 MacBook Air with 16 GB of RAM, a mid-size CAD assembly of thirty parts stays interactive while you orbit. Materials settle in a second or two. Final renders at print resolution chew through the battery, but the app itself rarely stutters or beachballs.
Memory use is the one to watch. Complex scenes with 4K textures and hundreds of parts can push past 10 GB. If your Mac has 8 GB, you’ll feel it. Close the real-time viewer when you’re not checking lighting — it frees up headroom instantly.
Stability has been solid through the 2025.1 update. No render-bucket crashes or lost scenes in a week of daily use. Autosave works quietly in the background. If a plugin hand-off fails, the standalone app still opens the file directly, which is more than some rivals manage.
From client STEP file to brushed steel kettle render
Tuesday morning. A client sends a STEP file of a kettle they want shown in brushed steel and matte black.
- Import. Drag the STEP into KeyShot. It lands on the ground plane, camera pulled back far enough to see the whole thing.
- First pass. The default HDRI environment lights the model. The brushed steel body already reads as metal, not grey plastic. That’s the physically based materials doing their job.
- Assigning materials. Search “matte black” in the material library, drag it onto the handle and lid. Search “brushed steel”, drag it onto the body. The viewport updates instantly.
- Lighting. Open the new Light Tool. Add an area light above and slightly behind the kettle to lift the top edge. Drag it lower until the shadow softens.
- Camera. Set a 50 mm lens, move the camera to eye level, tilt down about ten degrees. Lock it so I don’t knock it while tweaking materials.
- Render. Switch to final render at 3000 px wide. Go make tea. Come back to a clean still with soft reflections and no fireflies.
- Export. Send a glTF to the client so they can spin the model in a browser before signing off the design.
Set hotkeys before you start comparing lighting setups
- Learn the hotkeys. The new Add Studio hotkey is small but useful when you’re comparing lighting setups. Assign your own for camera lock and render pause early — your wrists will thank you.
- Start with the sample scenes. Open one, swap the material, move a light. You’ll learn more in twenty minutes of fiddling than in an hour of tutorials.
- Check the environment first. Most “my render looks flat” problems are just the default HDRI being too even. Rotate it, change contrast, or add a Physical Light before blaming the material.
- Watch your texture sizes. 8K textures are tempting. For most product shots, 2K is enough and keeps the viewport snappy.
- Use the Scripting API for repeat jobs. If you import the same supplier formats every week, a small re-tessellate script saves real time. You don’t need to be a programmer — the console logs enough to copy and adapt.
- New Light Tool for easier placement of Physical Lights
- Re-tessellate Tool now available in the Scripting API
- Fresh hotkey for adding a Studio
- macOS 12 or newer
- Apple Silicon or Intel 64-bit processor
Questions from the bench
Does KeyShot support caustics and light bouncing?
Yes, it handles caustics, inter-object light bouncing, and self-shadowing through its photon mapping and global illumination engine.
Can I run KeyShot on an Apple Silicon Mac?
It runs natively on both Apple Silicon and Intel 64-bit Macs from macOS 12 onwards.
What kind of materials does KeyShot use?
It relies on physically based materials that react to HDRI lighting, ambient occlusion, and environment reflections for accurate surface behaviour.







 Back up
Bench talk (0)
Sign in or get a library card to pin up a note.
Nobody has chimed in on this card. If you have used it on an old Mac, say which one.