

Exposure X7 7.3.0 — Mac version
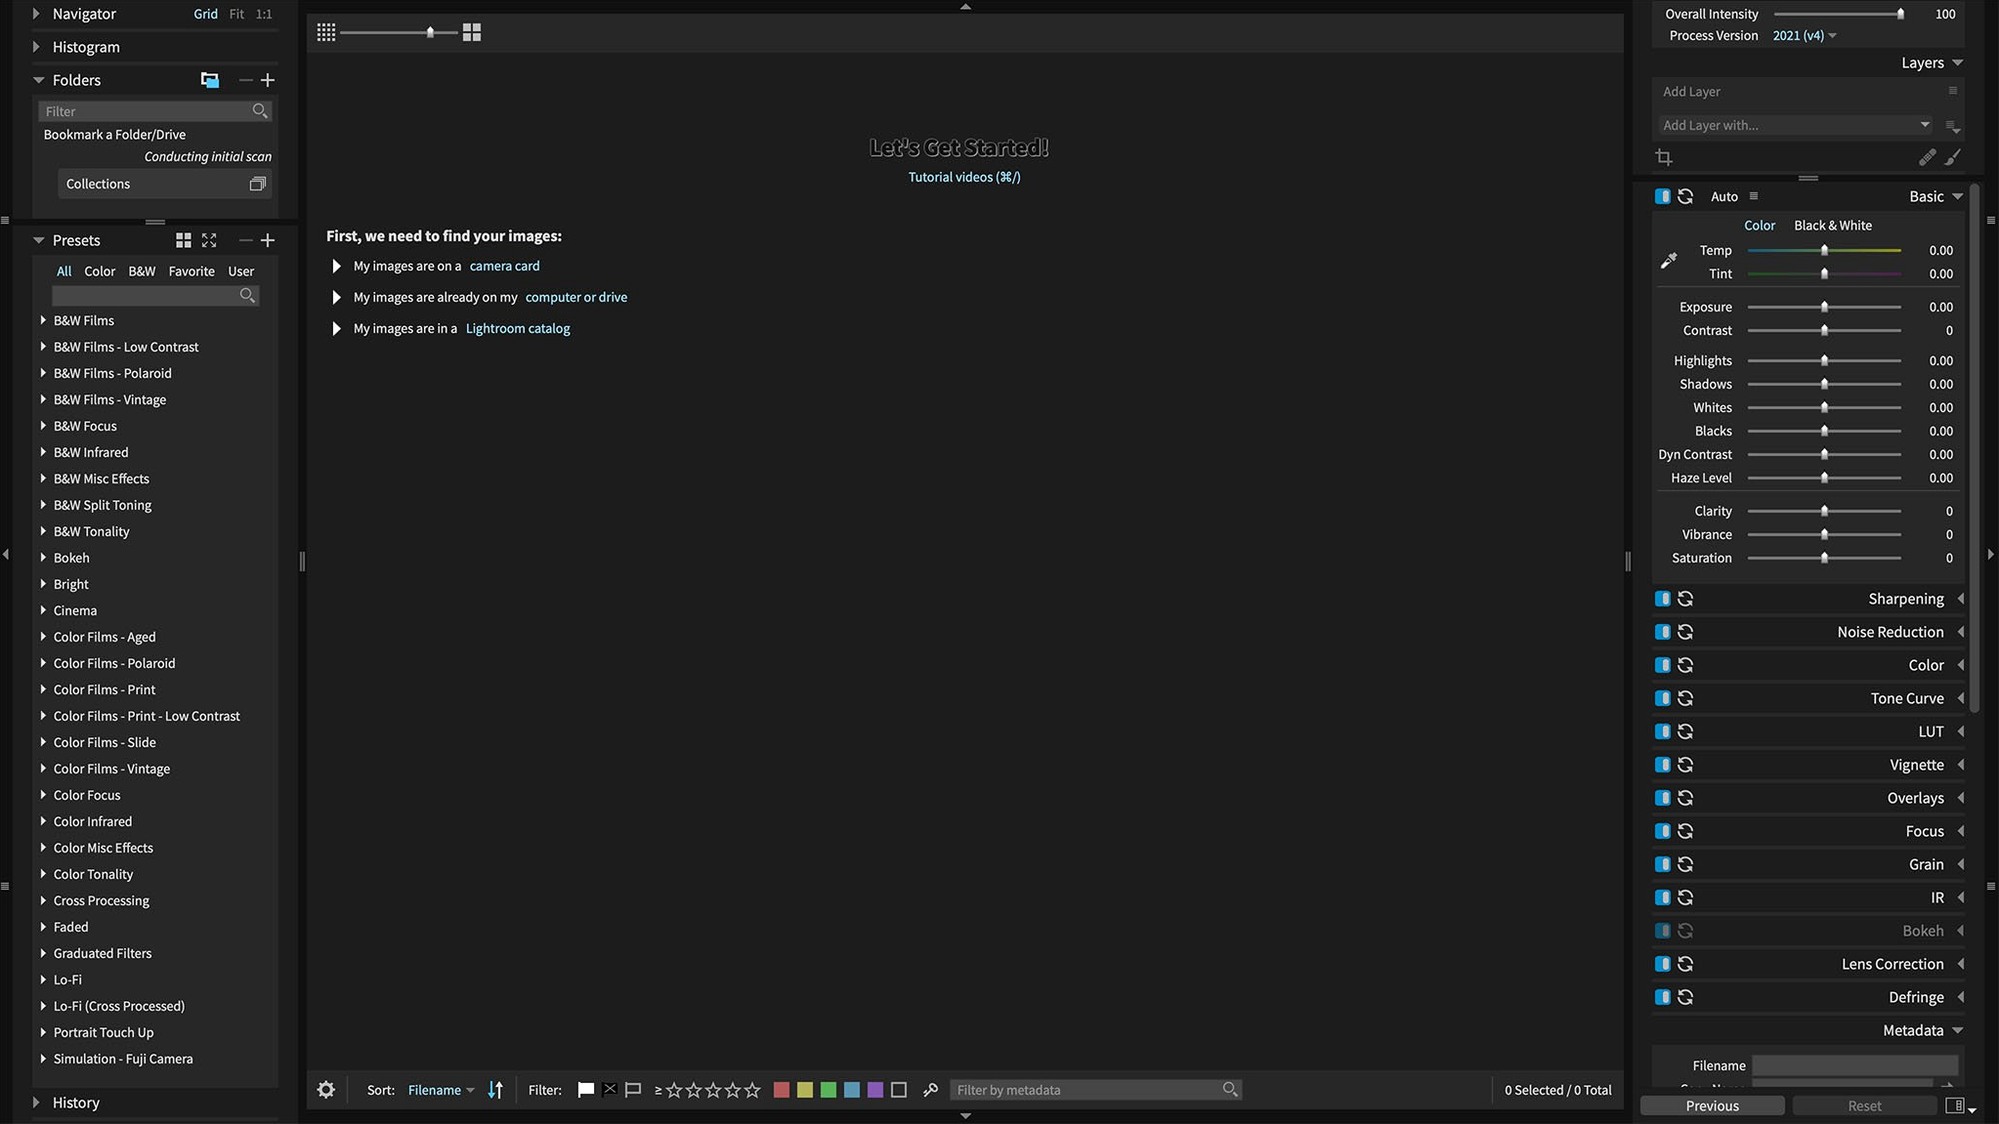
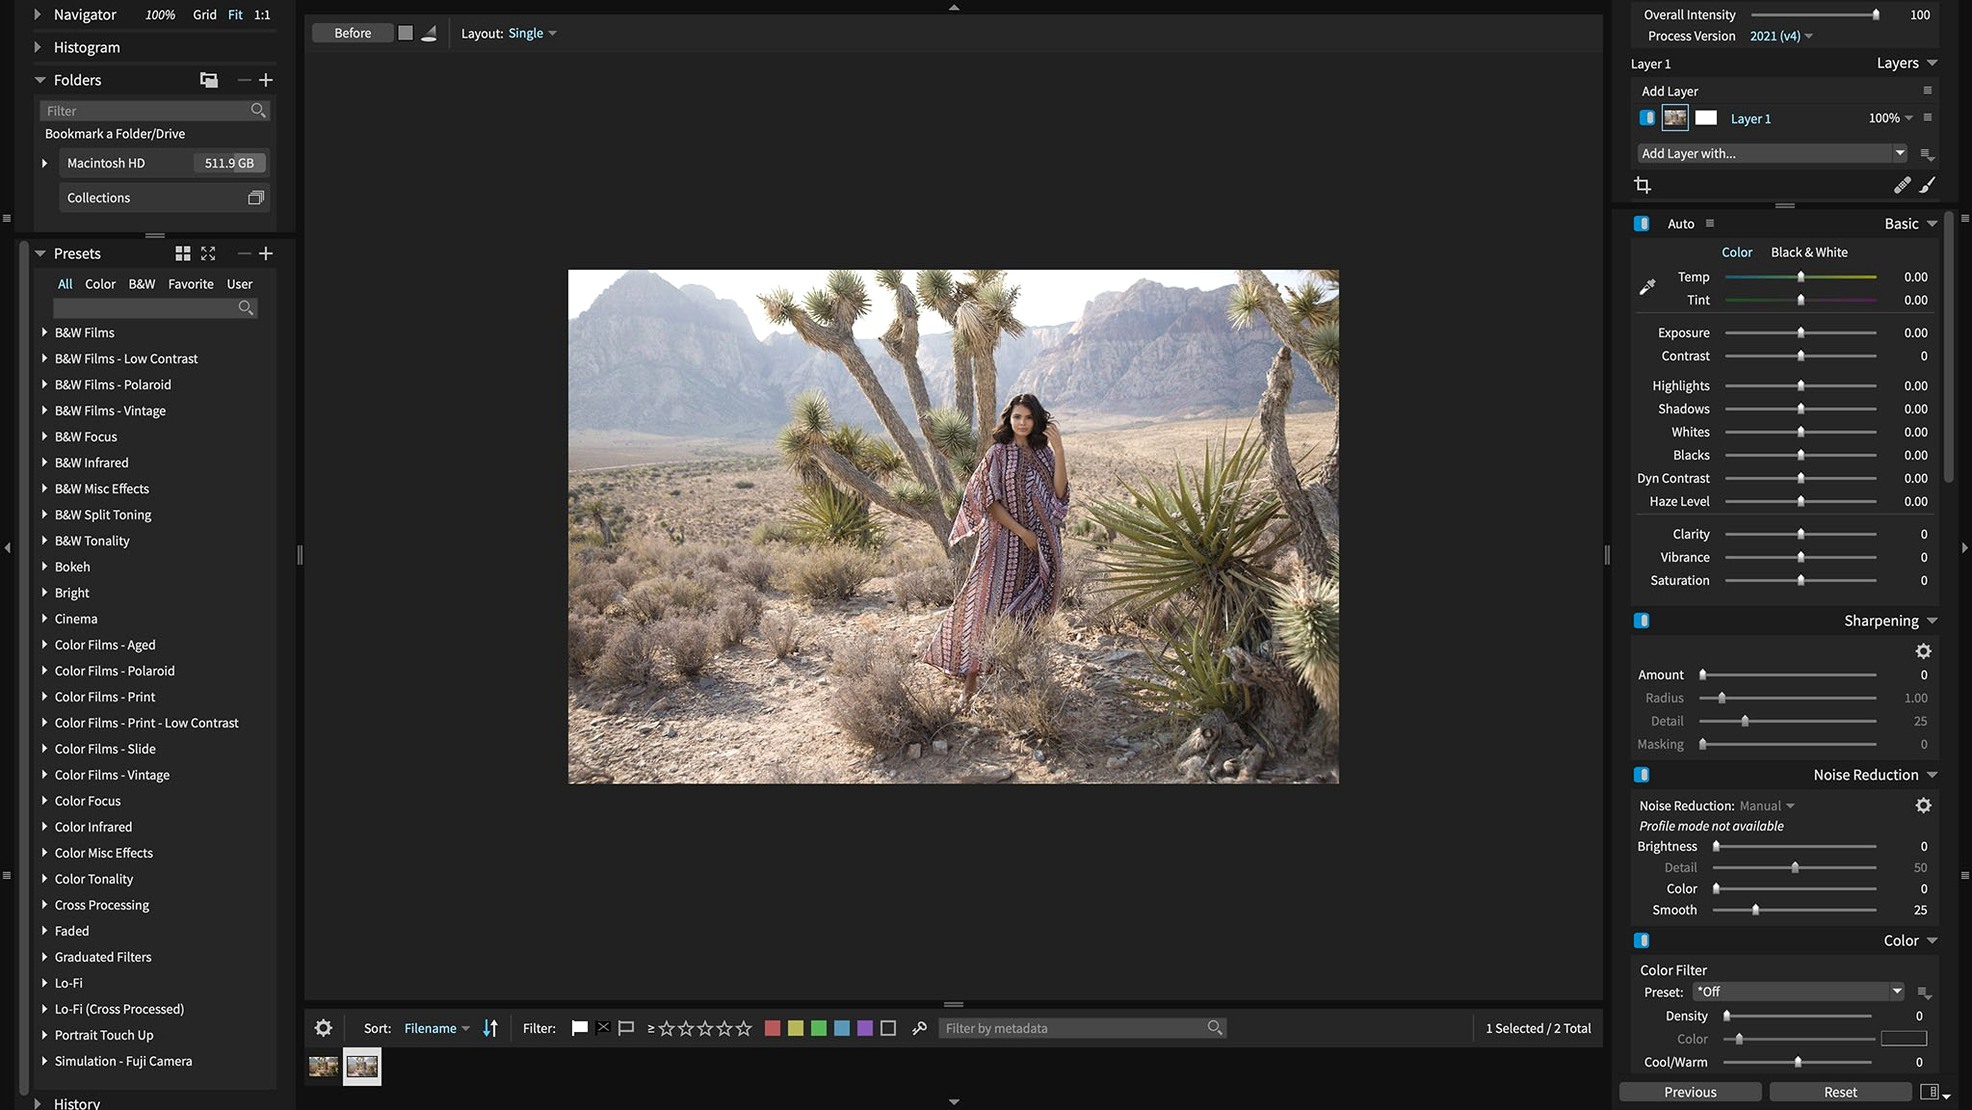
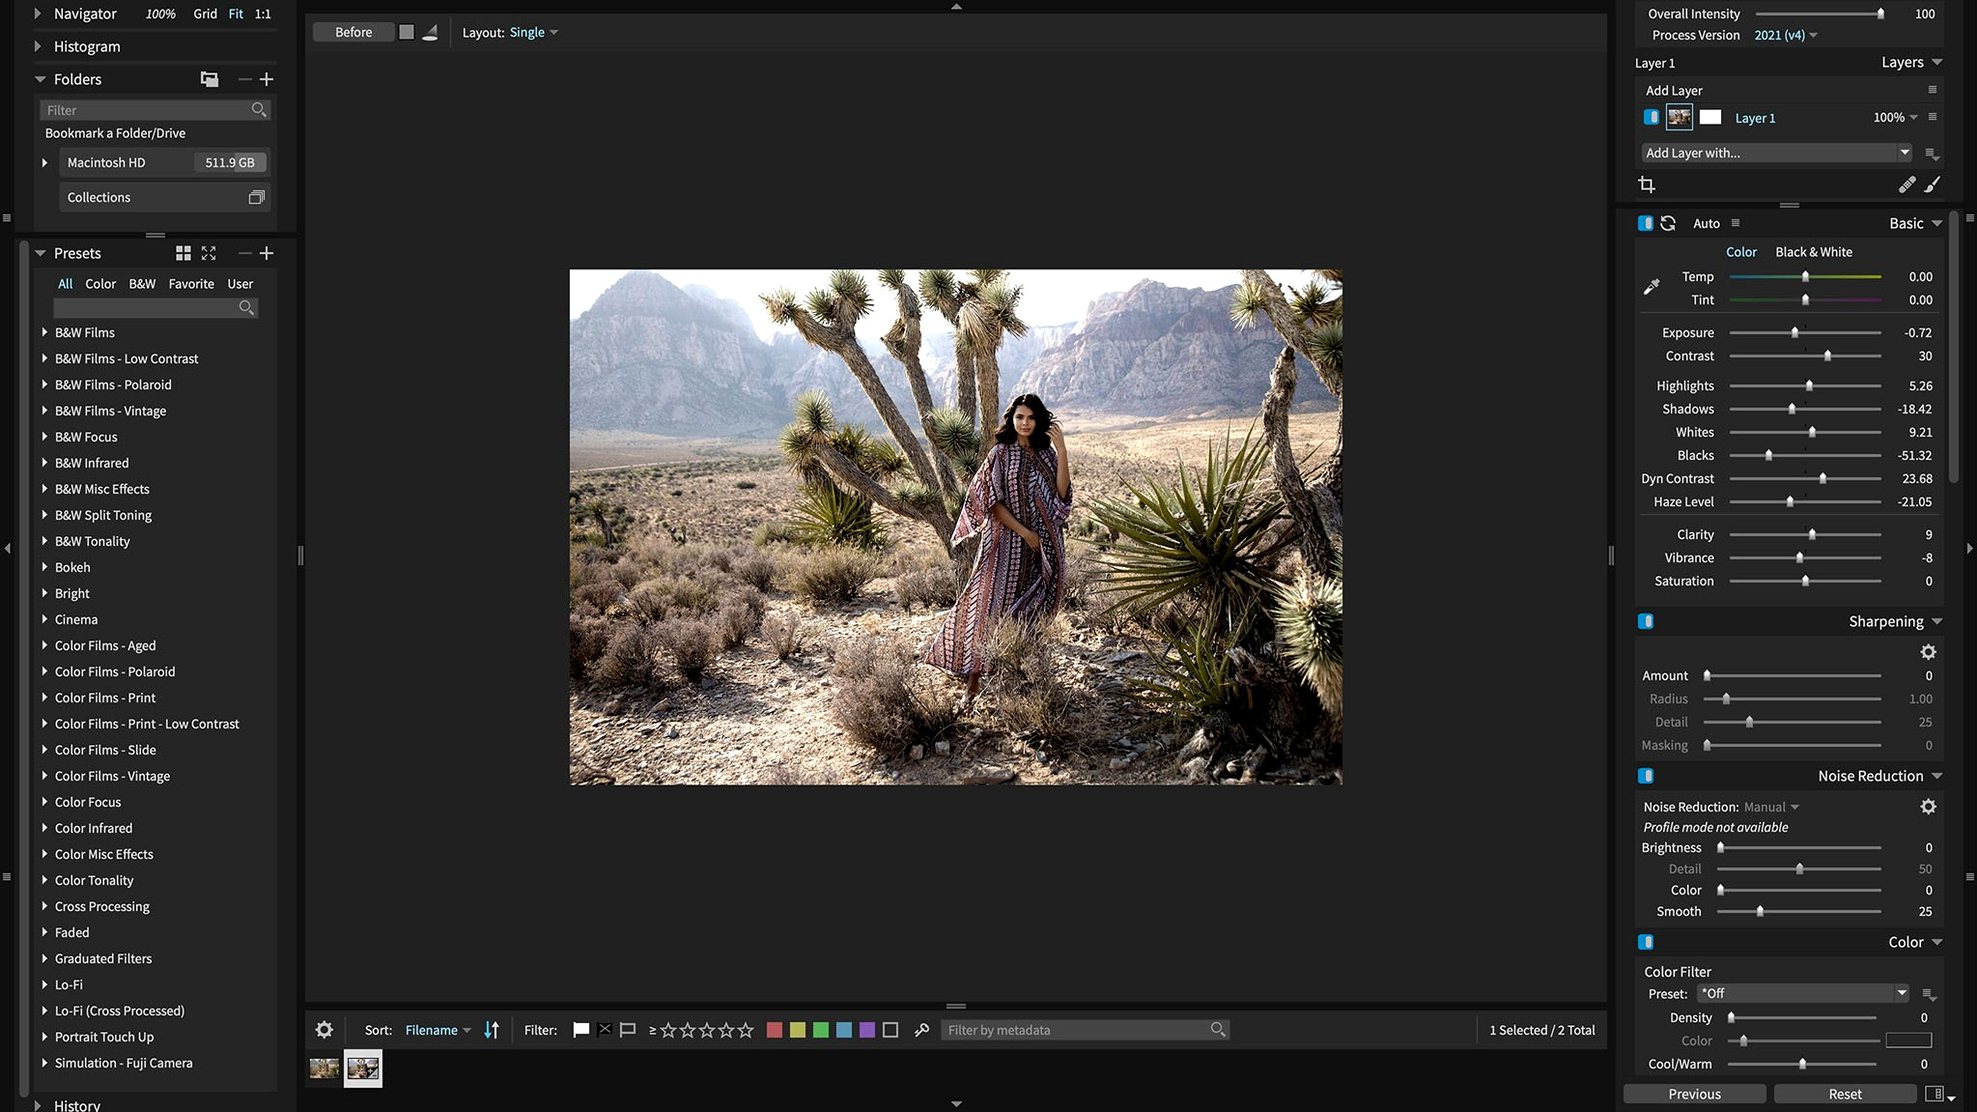
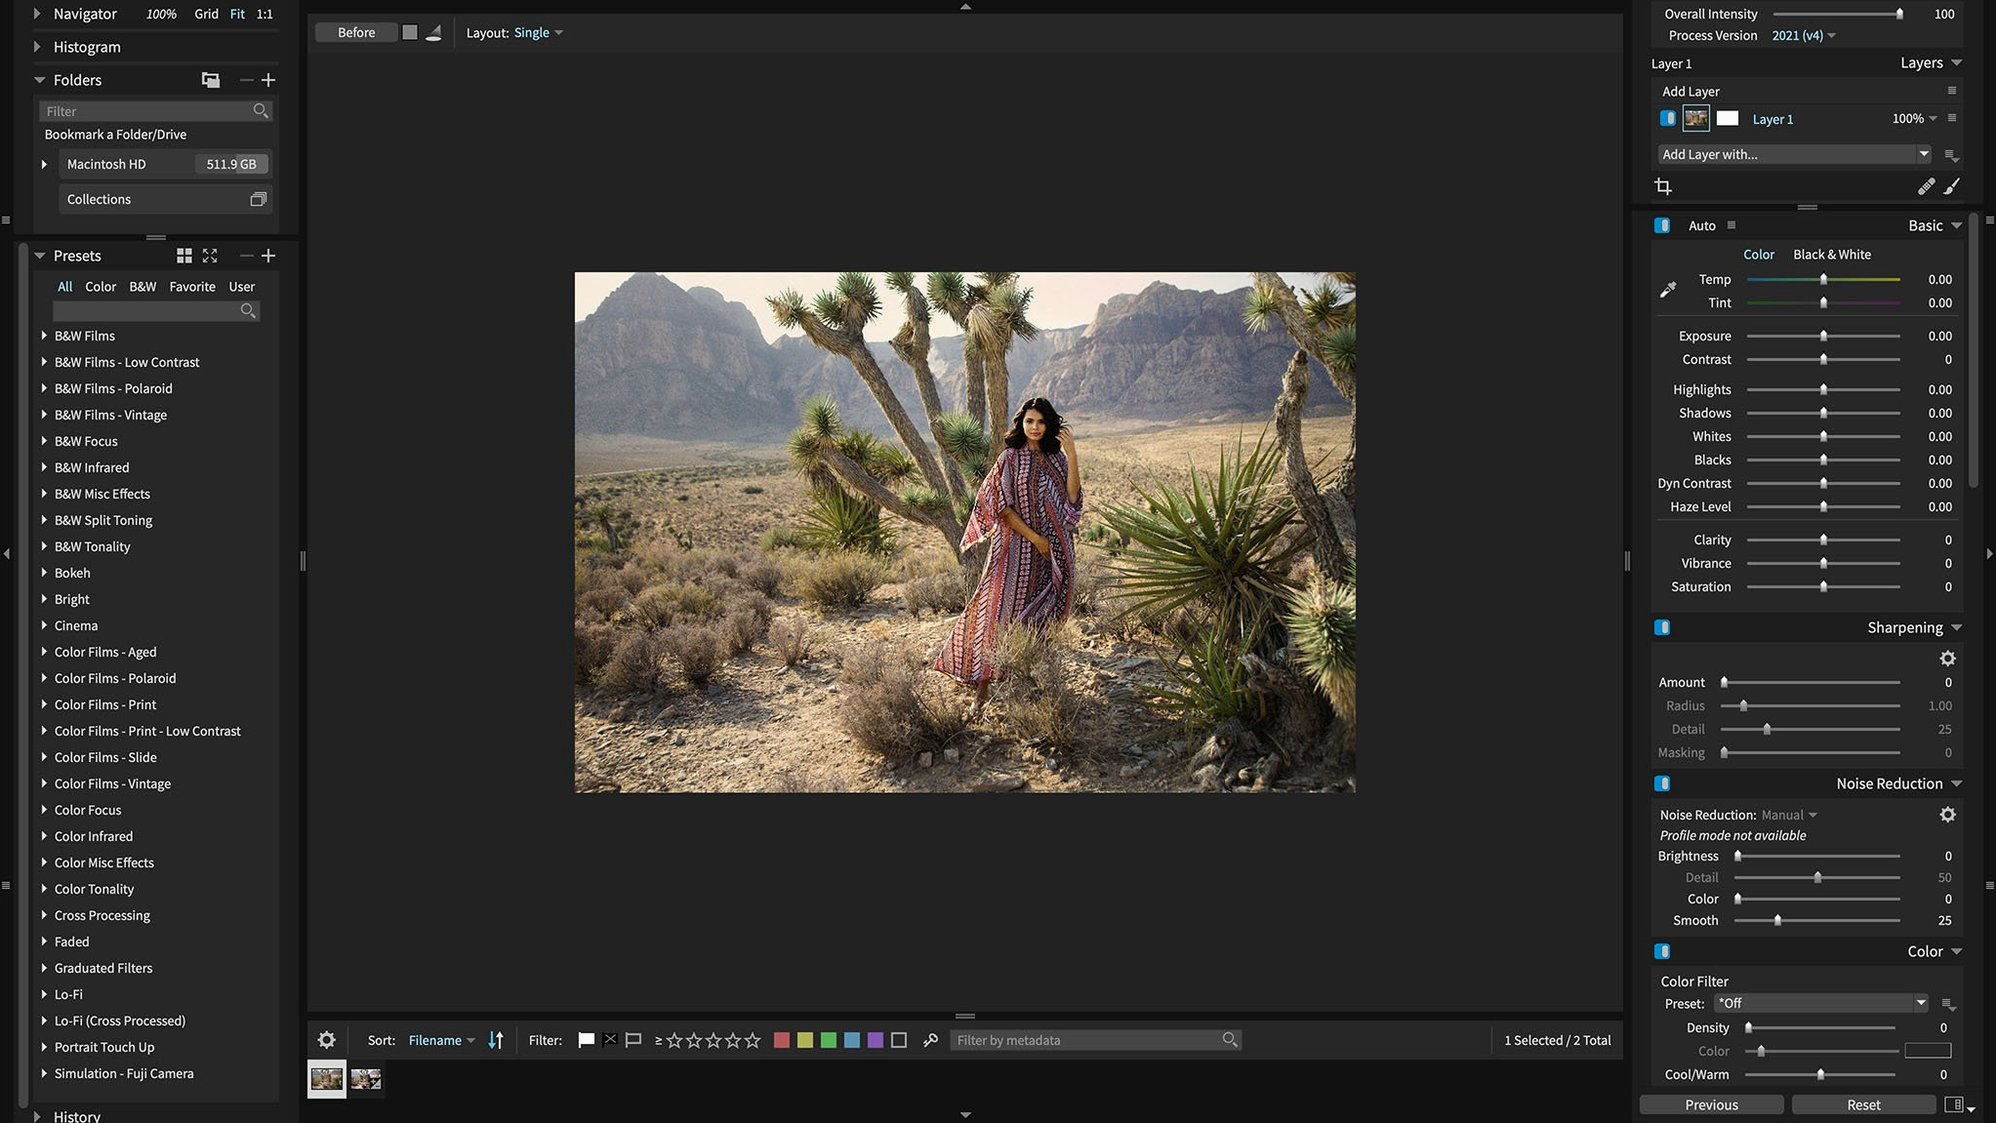
You've just pulled a batch of Sony A7 IV raw files off the card. The light was tricky — half the set looks flat. In Exposure X7 you apply a one-click auto adjustment to the first frame, then drag a 3D colour mask across the sky to pull back some detail without touching the foreground. The edit copies across the lot in seconds.
Exposure X7 works two ways. Run it as a standalone editor when you want to browse folders and cull shots without opening anything else. Or drop it into Photoshop or Lightroom Classic as a plug-in. Either route, edits are non-destructive — the original raw stays untouched. The app speaks English, German and French, and the 7.3.0 release tidied up the Chinese, Japanese, German and French translations.
On the hardware side, it runs natively on Apple silicon and Intel 64-bit Macs back to macOS 10.13. GPU optimisation keeps the sliders responsive even with big raw files. The latest update also fixed a rendering glitch with Sony A7 IV lossless compressed raws and a crash that could trip when you picked a black-and-white film preset.
Over 500 presets ship with the app — film emulsions, vintage colour shifts, punchy monochrome looks. They're all customisable. If you shoot with a Panasonic S5 IIX or an iPhone dumping HEIC files, the newly added camera support means they open without a detour through another converter.
What 7.3.0 changes day to day
The biggest practical shift is the HEIC support. If you grab a quick snap on a current iPhone, you can now open it straight into the same edit workflow as your raw files — no more bouncing through Preview or Photos first. That's handy when a phone shot ends up in a mixed collection.
The A7 IV fix matters if you shoot compressed raw. Before the update, those files could show banding or blocky shadows. Now they render clean, which means you can trust the screen and stop second-guessing whether the corruption is in the file or the preview. The black-and-white film preset crash is gone too, so flipping through mono looks doesn't need a cautious save beforehand.
Editing a portrait from start to finish
Here's a real-world run through Exposure X7, using the standalone side.
You'll need: a folder of raw portraits, ideally shot under consistent light.
- Point the library browser at the folder. Thumbnails build fast — the GPU churns through preview rendering.
- Run an automatic adjustment on the first keeper. Exposure X7 sets tone and contrast in one click; it's a reasonable starting point for skin tones.
- Add a non-destructive layer. Pick the retouching brush, set it to a small soft tip, and dab out stray hairs or a temporary blemish. The healing samples from nearby texture, so it blends without smearing.
- Drop a 3D colour mask on the background. Click the colour you want to isolate — say a teal wall — and tweak the range slider until it grabs only the wall. Pull the exposure down half a stop to push attention back onto the face.
- Browse the presets panel. Try one of the warmer film emulsions. Dial the preset strength to 40% so it flatters rather than overpowers.
- Copy adjustments (Cmd+Shift+C) and paste them across the rest of the set. Only the healing strokes need a quick per-image check.
- Export as full-res JPEGs. The Quick Export crash, fixed in 7.3.0, won't interrupt you now, even if you've reordered your export presets.
Fitting in with other apps
Exposure X7 slots into a wider toolkit without locking you into one way of working. As a Lightroom Classic plug-in, edits go back and forth: you right-click a raw, choose Edit In Exposure X7, apply presets and masks, save, and the result lands as a layered TIFF next to the original. Photoshop CS6 or CC 2015 and later work the same way — the plug-in passes a smart object, so you can re-enter Exposure X7 and tweak settings later.
For file management, the app reads whatever folder structure you already have. Keywords and smart collections live inside Exposure X7, but the raws stay where you put them. That means Finder tags and Spotlight searches still work alongside the catalog. If you use an exposure x7 mac setup with a NAS, point the library at a network share and the catalog keeps up without importing everything into a monolithic database.
Drag-and-drop between apps is straightforward too. Select a batch of edited TIFFs, drop them into an Affinity Photo stack, and carry on. Exposure X7 doesn't get in the way of whatever comes next.
- Added raw support for Panasonic Lumix G95D, Panasonic Lumix S5 IIX and Sony Cyber-shot DSC-RX100M7.
- HEIC photos from recent iPhones now open directly.
- Refreshed Chinese, German, French and Japanese translations.
- Fixed corrupt rendering of Sony A7 IV lossless compressed raw files.
- Fixed a crash when applying black and white film presets.
- Fixed a crash when opening the Quick Export menu after reordering export presets.
- macOS 10.13 or later
- Apple silicon or Intel 64-bit processor
Questions from the bench
Can Exposure X7 work as a Photoshop plug-in?
Yes, version 7.3.0 includes plug-in support for both Adobe Photoshop and Adobe Lightroom Classic.
What macOS versions does Exposure X7 need?
It requires macOS 10.13 or later and runs natively on both Apple silicon and Intel 64-bit Macs.
Does Exposure X7 handle raw files without damaging the original?
All raw editing is non-destructive, so you can tweak or reset adjustments at any time and the original file stays unchanged.







 Back up
Bench talk (0)
Sign in or get a library card to pin up a note.
Nobody has chimed in on this card. If you have used it on an old Mac, say which one.