
ScreenFlow 10.5.2 — Mac version
Record everything in one pass
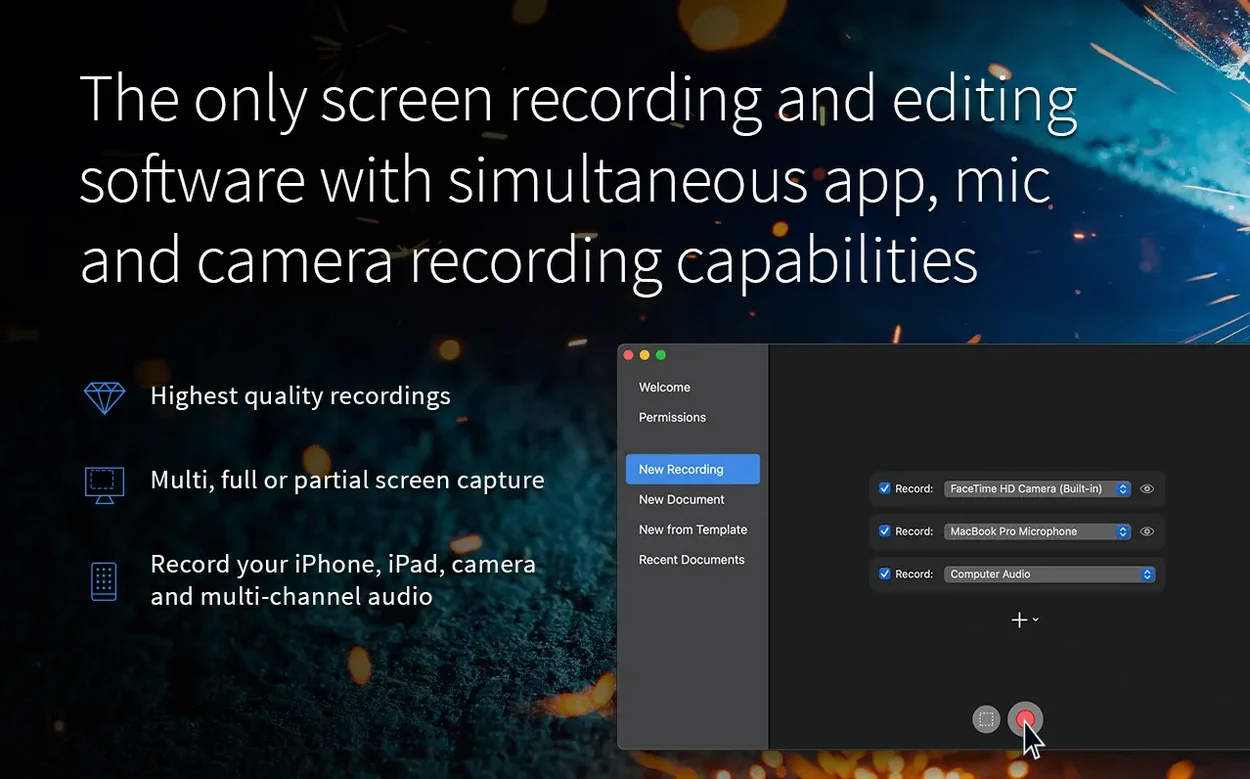
Stock footage. That's what the built-in media library calls its collection of backgrounds and overlays, and it's a handy place to start when you need a bit of polish without hunting the web. ScreenFlow doesn't split recording and editing into two separate jobs. You hit record, it grabs your screen — whole monitor or a dragged-out rectangle — plus camera video, mic input, system audio, and even an iPhone or iPad feed wired in over USB. All those sources land on separate tracks inside a single timeline, synced and ready to trim.
Cut and arrange without leaving the app
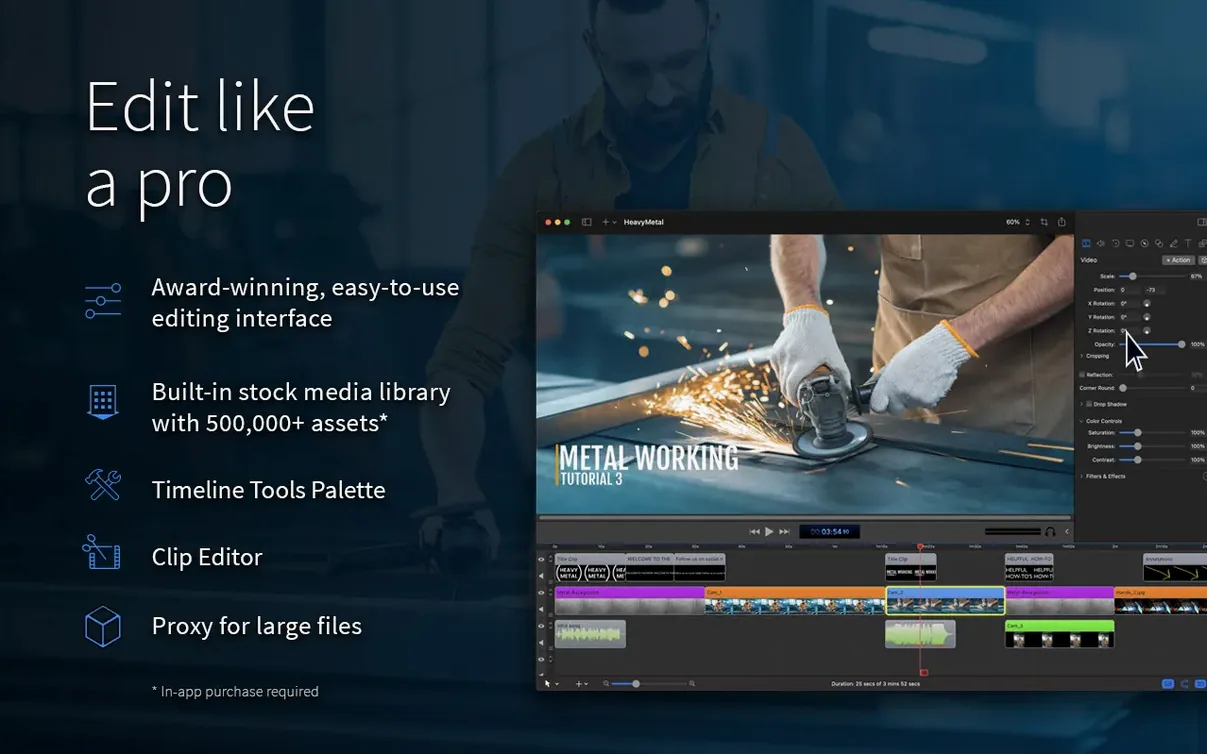
The editing side is proper multi-track. You can slip clips around, split them with a blade tool, tweak opacity, and drop in titles or callouts. The timeline uses layers, so a picture-in-picture camera box can sit over a screen capture and both stay adjustable. Transitions, colour adjustments, and speed changes all live in a sidebar that updates the canvas in real time.
Share anywhere you need it
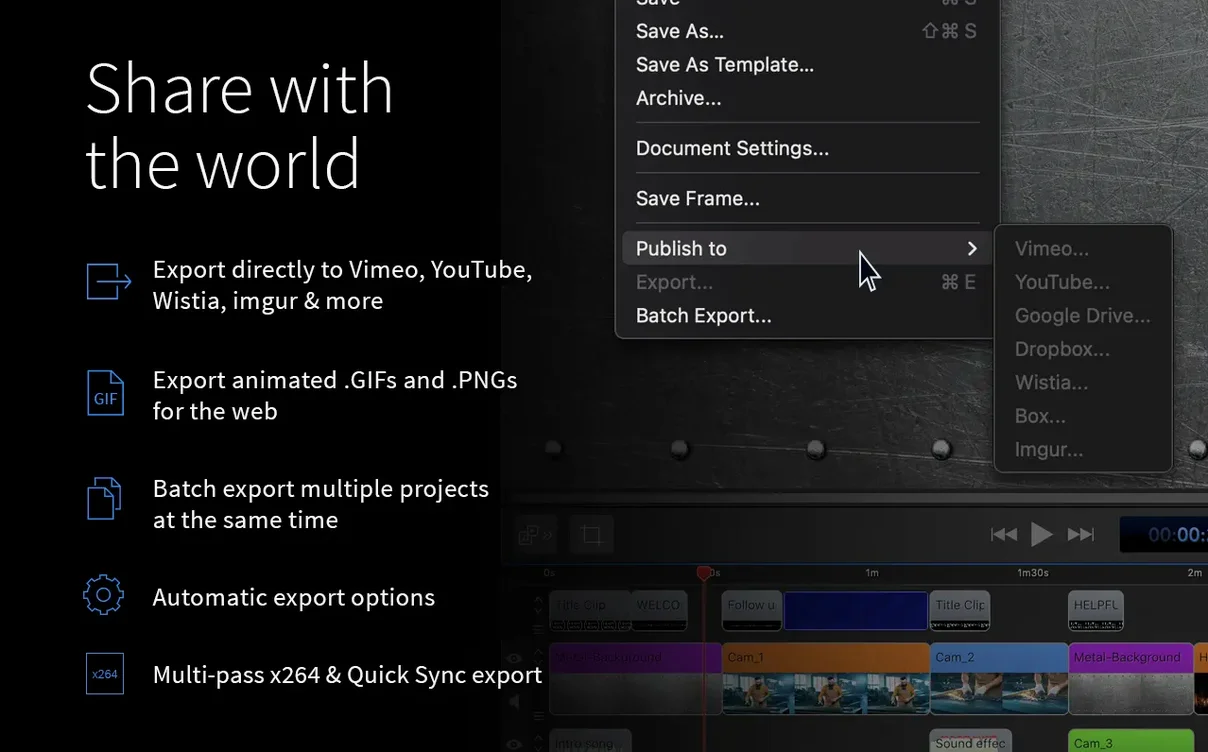
Once the edit feels right, the export list connects directly to Vimeo, YouTube, Wistia, Facebook, Google Drive, Dropbox, Box, and Imgur. Pick a preset, log in once, and the file goes straight up. No extra converter step needed.
ScreenFlow 10.5.2 tidies up a couple of rough edges too — exports using Chroma Key on certain recordings now work properly, and a crash on macOS 26.2 or higher has been squashed.
OBS is free, Camtasia templates faster, QuickTime just grabs
If you already edit video, you've probably looked at OBS Studio, Camtasia, and maybe QuickTime Player. They all record a screen, but they sit in different corners of the room.
OBS Studio is free, open-source, and absurdly flexible for live streaming. It captures everything ScreenFlow does — screen, camera, multiple audio inputs — and its scene system is brilliant for switching live. What it lacks is a built-in editor. You'll need another app to trim, annotate, or add zoom effects after recording. OBS gives you raw footage and stops there. ScreenFlow hands you a timeline full of separate tracks the moment you stop recording. For a tutorial maker who wants one tool from capture to export, that gap matters.
Camtasia is the closest rival. It records, it edits, it has callouts and transitions. The feel is different, though. Camtasia leans toward templates and wizard-driven workflows — pick a theme, drop in placeholder clips, follow the prompts. ScreenFlow assumes you want to build from scratch. The timeline behaves more like a traditional NLE: blade tool, snapping, layers, manual keyframes. If you've used Final Cut or Premiere, ScreenFlow's approach feels familiar. Camtasia's canvas-and-track area is simpler but less precise for fine adjustments.
QuickTime Player can record a screen or a camera feed, one source at a time. It's dead simple and ships with every Mac. That's where the comparison ends. No timeline, no multi-source sync, no callouts, no direct sharing to video hosts. QuickTime is your emergency notebook; ScreenFlow is your workshop.
The macOS-only requirement is worth noting. OBS and Camtasia run on Windows too. ScreenFlow commits fully to Mac frameworks — Metal for rendering, AVFoundation for capture, the system media encoder for exports. That tight coupling shows in smooth 60 fps recordings on older Intel machines, but it means no cross-platform handoff with a Windows colleague.
Point recordings to an external drive
Out of the box, ScreenFlow works. A few tweaks make it work your way.
- Set the recording destination. By default, recordings land in your Movies folder inside a ScreenFlow subfolder. If you're working from an external drive, point it there under Preferences > Recording. Large 4K captures fill internal storage fast.
- Turn off "Record Computer Audio" unless you need it. It's on by default. When you're recording a call and using a headset, system audio capture sometimes grabs notification pings and alert sounds. Toggle it off from the recording setup window before you hit the red button.
- Adjust the default export preset. The stock "Web - High" preset balances size and quality well, but if you regularly upload to YouTube, switch the default to H.264 at 30 fps and tick "Prepare for Internet Streaming." That moves the metadata atom to the front of the file so YouTube processes it faster.
- Keyboard shortcuts for the blade and zoom tools. The blade tool defaults to
B, the selection tool toA, and adding a video action (zoom/pan) toShift-Cmd-V. Memorise those three and you'll barely touch the toolbar. You can remap them under ScreenFlow > Preferences > Keyboard Shortcuts. - Recording monitor choice. If you have multiple displays, ScreenFlow records whichever one you select in the recording setup panel. It can also record all monitors as separate sources. The "All Displays" option is hidden behind a small dropdown arrow — click it and choose wisely, because editing three full-size screen tracks at once is a timeline tangle.
Grab a 1440×900 walkthrough in ten minutes
Say you're making a quick walkthrough for a colleague. You've got ten minutes and you want something clear, not fancy.
One: set the capture area. You open ScreenFlow's recording panel. You pick the 1440×900 portion of your screen that holds the browser window. Camera on — your face appears in a small preview thumbnail. Mic level bounces green. Computer audio stays off; you'll narrate through everything live.
Two: record. You press the red button, count to two silently, then start talking. You click through three pages, pause to highlight a field with the mouse, and wrap up. Another silent two-count, then stop. The recording closes and ScreenFlow drops everything onto the timeline: one screen track, one audio track, one camera track. All synced.
Three: trim the dead air. You grab the start of the timeline and drag right to chop the opening silence. Same at the end. The blade tool (B) splits the middle section where you coughed — delete that chunk, ripple the gap closed.
Four: add a zoom. On the timeline, you position the playhead where the tiny dropdown menu appears in the recording. Press Shift-Cmd-V to add a video action. A keyframe pops in. You drag the scale slider to 150%, reposition the viewport, and ScreenFlow animates the zoom smoothly over a second. The action bar on the track shows exactly where the effect runs — drag its edges to change duration.
Five: drop in a title. From the media library, you pull a lower-third title onto a new track above the screen recording. Double-click, type "Account Settings," and the canvas updates. It fades in automatically because ScreenFlow adds a default ease to title clips.
Six: export. You pick H.264, name the file, and send it to the desktop. Three minutes later the MP4 is ready. You drag it into a Slack message. Done.
Real-world scenario: an indie app developer's update video
Mira ships a small macOS utility for managing clipboard history. Every few months she records a two-minute screen capture showing new features for her blog and YouTube channel. Her workflow is tight because she repeats it often.
She records at 1440p on a 27-inch iMac. The capture grabs her app window plus a corner of the menu bar for context. Her iPhone, mounted on a little tripod and connected over Lightning, records her hands gesturing above the desk — she adds that as a separate camera source. Two mics: a lavalier for voiceover and the Mac's system audio for app sound effects.
In the timeline, she cuts between the full screen view and tight zooms on new buttons. A video action pans from the menu bar down to the preference pane. Callout arrows, drawn from the annotation tab, point at the new search field. She colour-codes them to match her app icon — a small consistency touch that makes the video feel intentional.
When a beta tester reports a crash, she captures it live. ScreenFlow records the exact sequence, including the system alert dialog. She trims around the moment, adds a freeze-frame at
- Fixed a crash that appeared on macOS 26.2 and later.
- Exports using Chroma Key on certain screen recordings no longer fail.
- The manage button under licences now points to the right place.
- macOS 10.15 or newer
- Apple Silicon or Intel 64-bit Mac
Questions from the bench
Can ScreenFlow record my iPhone screen at the same time as my Mac screen?
Yes. You can capture iPad or iPhone video over USB alongside your Mac screen, camera, mic and system audio in a single recording session.




 Back up
Bench talk (0)
Sign in or get a library card to pin up a note.
Nobody has chimed in on this card. If you have used it on an old Mac, say which one.