

Topaz Photo AI 2.1 — Mac version
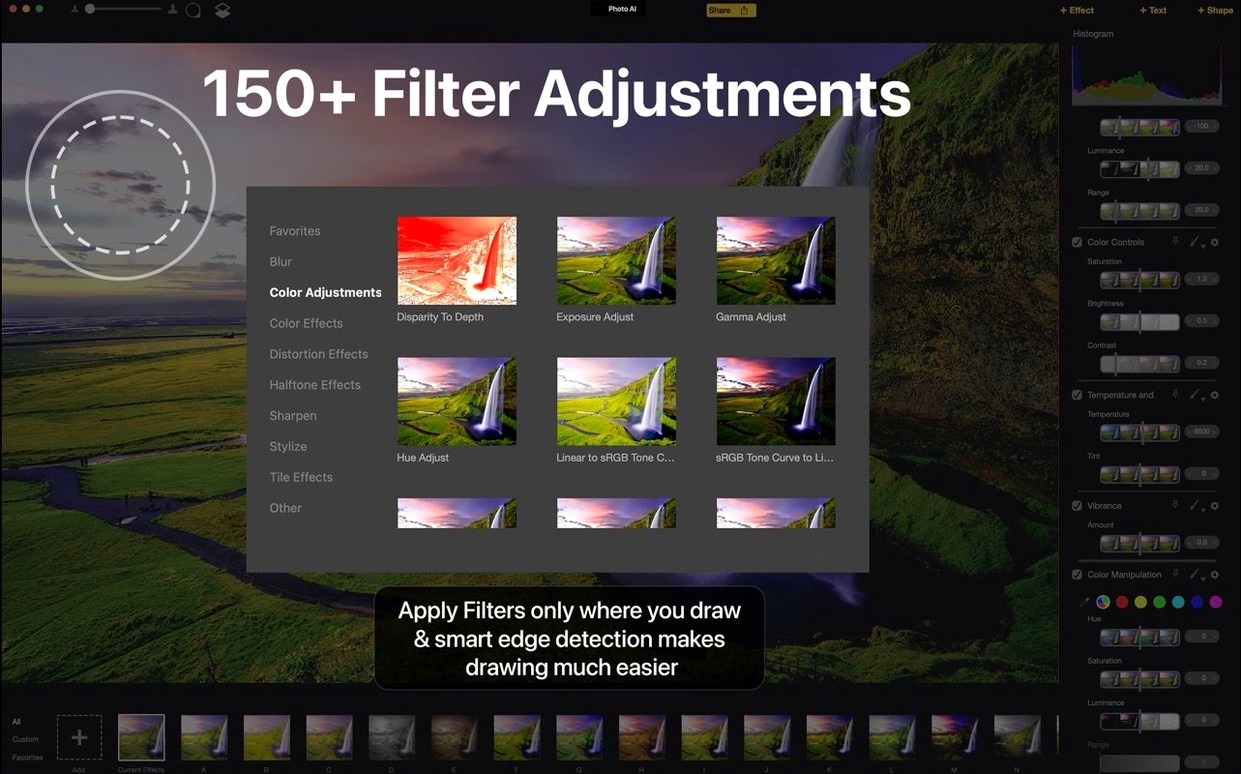
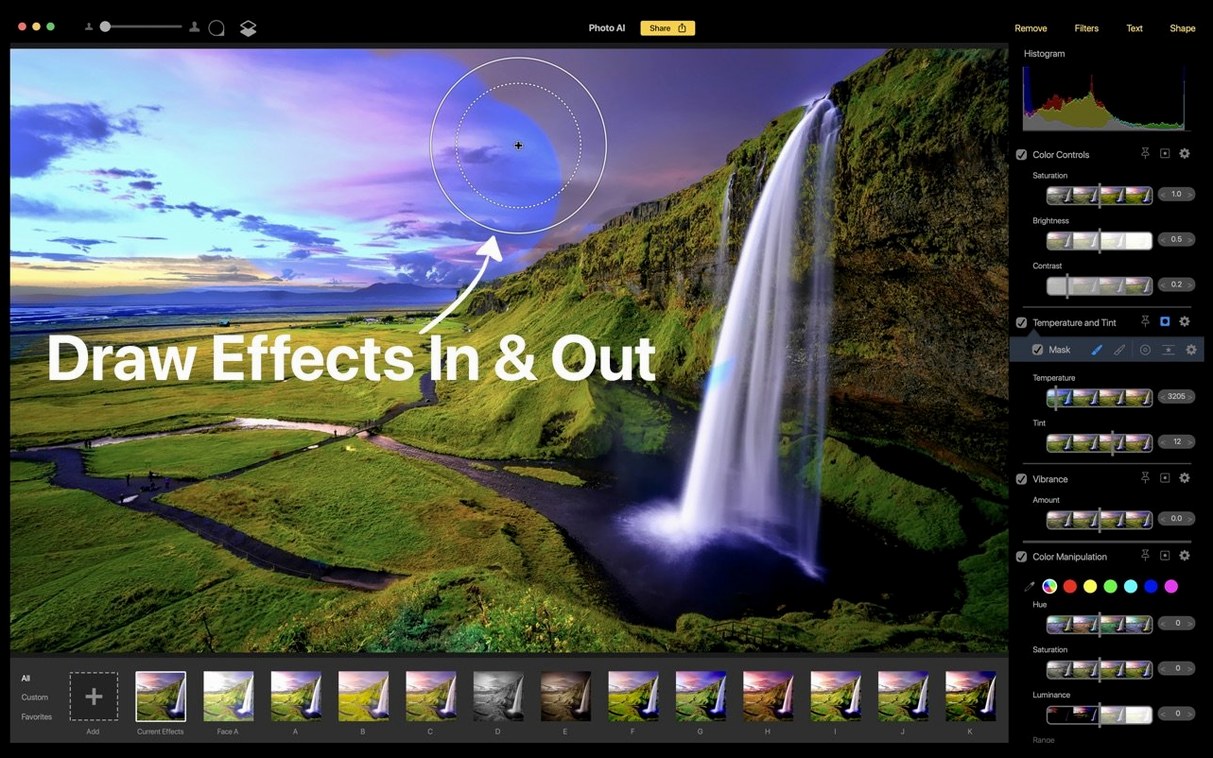
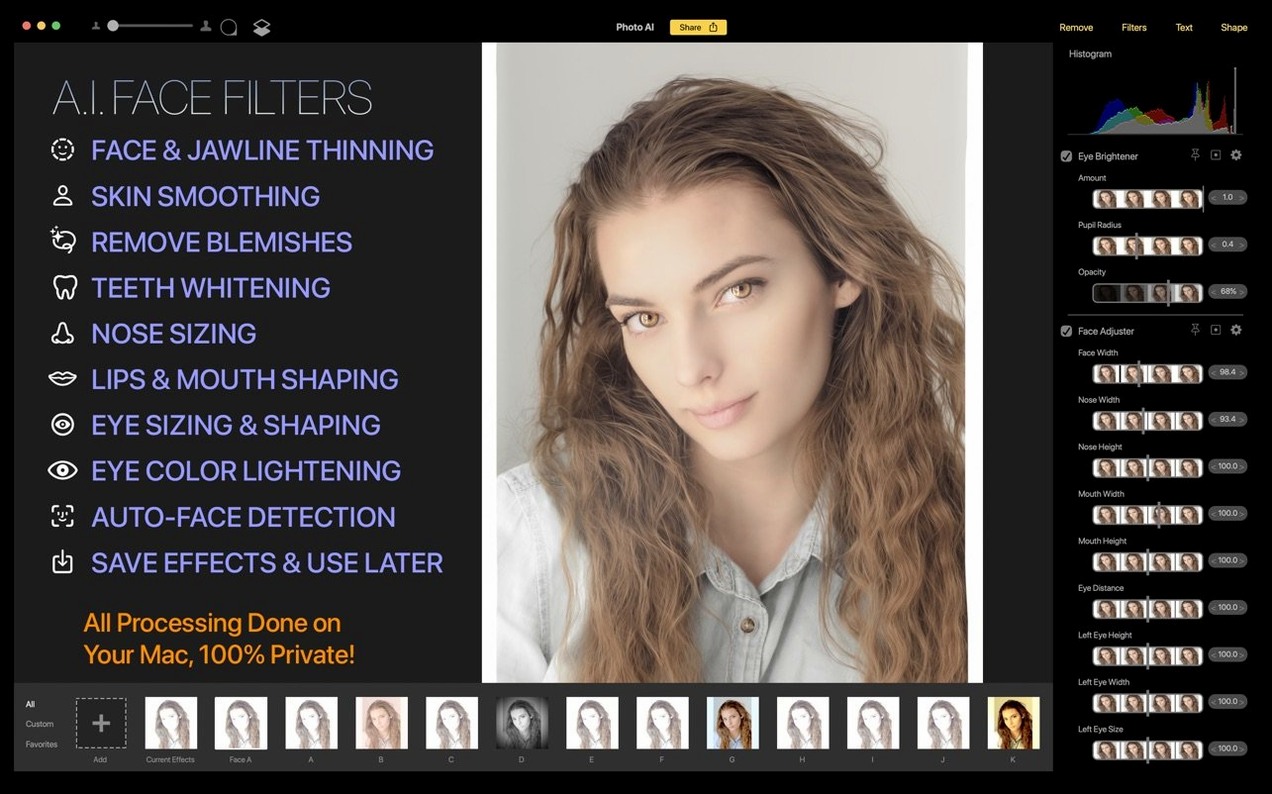
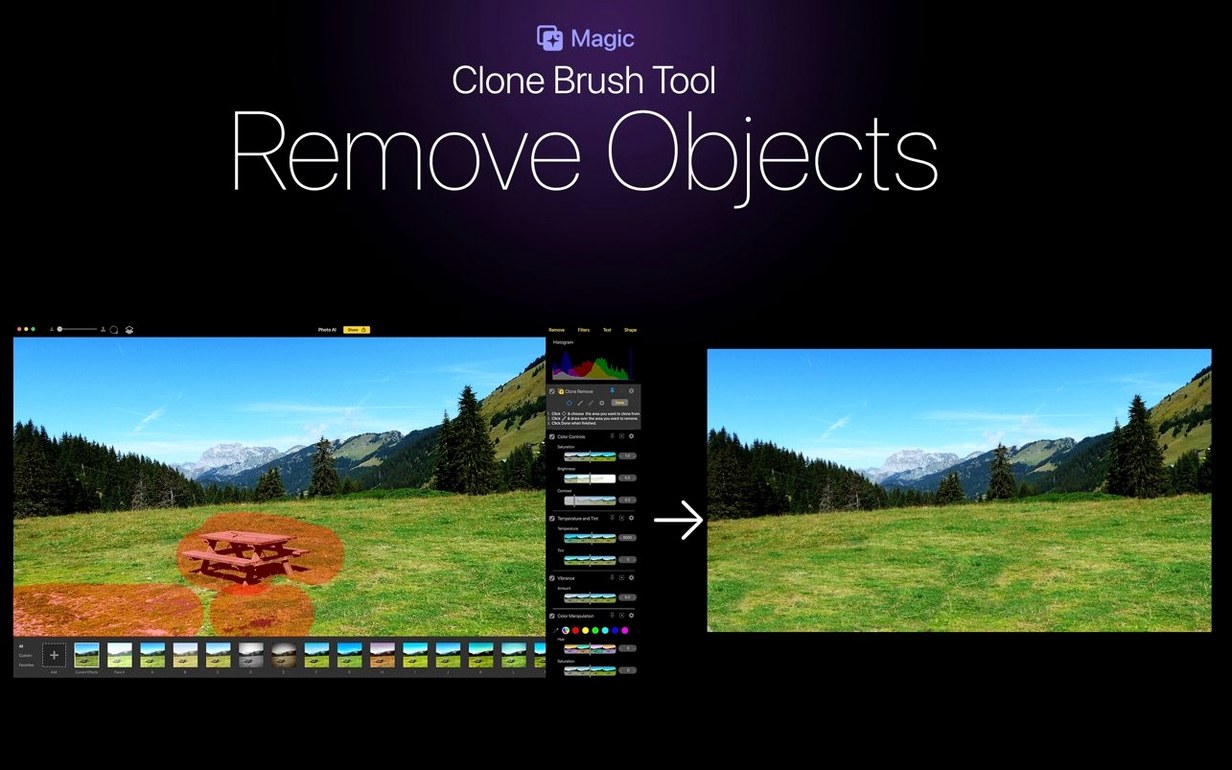
Topaz Photo AI is a desktop editor that runs image fixes locally on your Mac, using AI for the heavy lifting. If you're staring at over 150 controls wondering what to click first, here's a practical path through the noise.
- Run an Autopilot pass. Let the app analyse the image and suggest a starting set of adjustments. Think of it as a diagnostic, not the final word.
- Tackle noise first. The Denoise module is the real workhorse. Push the slider up on a grainy ISO 6400 shot and watch the colour speckles melt away without turning skin into plastic.
- Sharpen with the subject mask. Use the AI masking to apply sharpening only to your main subject. It keeps the out-of-focus background smooth while bringing eyes and textures into relief.
- Try a content-aware removal. Find the object removal tool and paint over a litter bin or a distracting sign. The app fills the gap using what's around it, and it's surprisingly good on textured surfaces.
- Resize with face recovery. Enlarge a group photo and tick the face recovery option. Tiny blurred features resolve into something you can recognise.
Start with a single problem per photo. Stacking every fix at once makes it hard to tell what's working. Once you've got a feel for one tool, the others start to make sense.
After raw colour work, before pixel-level retouching
Topaz Photo AI sits between your raw converter and your pixel editor. I use it after getting exposure and colour right in something like RawTherapee or the built-in Photos app, but before any local dodging or compositing. It's not trying to be Photoshop — there are no layers, no brushes beyond the removal tool, and no batch export presets. What it does is solve specific, stubborn problems that other apps handle with a dozen manual steps or just bodge.
On the system side, it behaves like a regular Mac citizen. You can drag an image from the Finder straight onto the dock icon, or use the Open With menu from Photos or a file browser. Edited files save back as TIFF, JPEG or PNG, so anything that reads standard image formats picks them up without fuss. If you work between multiple machines, the app's local processing means you're not stuck waiting for an upload or a cloud sync — handy when you're on a slow café Wi‑Fi connection at the repair workshop.
Quick connections worth knowing
- Apple Photos round-trip. Right-click an image, choose Edit With > Topaz Photo AI, make your fixes, hit Save. The edited version appears back in your library as a new version. No export‑and‑reimport dance.
- Finder Quick Actions. You can set up an Automator quick action that feeds a selected file straight into the app. One right-click, and you're in the denoise panel before the kettle boils.
- Colour profile passthrough. The app honours the embedded profile from your raw converter. If you've set everything to ProPhoto or sRGB upstream, the colours come out matching. No mysterious shifts.
Rescuing an ISO 12800 market photo with a plastic bag in front
Here's a task that lands on my desk regularly. A friend handed me a JPEG from a night market — ISO 12800, handheld at 1/15th of a second, plenty of chroma noise and a plastic bag right across the foreground cobblestones. The shot had atmosphere but needed serious tidying before it could go into a local history zine.
- Open and assess. Dragged the JPEG into the app. Didn't touch Autopilot — I wanted to hear what each module actually did before stacking them.
- Denoise first. The noise looked like a blizzard of red and green dots in the shadow areas. Set the denoise slider to around 70 and switched the model to the one labelled for severe noise. The cobblestones kept their texture; the sky turned clean black. Good.
- Subject‑only sharpening. The stallholder's face was the focal point. Painted a rough mask over her and nudged sharpening up to about 40. Left the background alone — nobody needs crisp bin bags.
- Remove the plastic bag. Used the content‑aware removal tool, painting a generous rectangle over the bag. Gave it a moment to think, and the app filled the gap with plausible cobblestone texture. One edge needed a second, smaller pass to blend the grout line properly.
- Face recovery on a small group. In the background, three customers were barely recognisable blobs. Cropped in tight, ticked face recovery, resized to 200% and saved just that area as a separate reference image for the zine layout.
- Final save. Exported as a 16‑bit TIFF with the embedded sRGB profile, ready for the layout person to place.
Total time was about twelve minutes. Most of that was waiting for the removal tool to process — the denoise and sharpening were near-instant on the Intel i5 machine I use at the bike library.
Four-second launch, ten-second denoise on a 2018 Mac mini
On a 2018 Mac mini with 16 GB of RAM, the app opens in about four seconds from an SSD. Loading a 24‑megapixel raw file takes another three. Denoise at moderate settings processes in under ten seconds; the content‑aware removal on the same file can take twenty to thirty, depending on the area you've painted. It's not instant, but it's predictable.
Memory use sits around 1.2 to 1.8 GB for a single image. Stacking several images in a session pushes that toward 3 GB, but I haven't seen it climb indefinitely — the app seems to release memory when you close a file. On a machine with 8 GB, you'll feel the swap pressure if you have a browser and a raw converter open at the same time. Close the other apps and it runs comfortably.
Stability is solid but not perfect. Over a couple of weeks of daily use, I hit one crash when trying to run face recovery on an image I'd already resized three times in the same session. The workaround was simple: save the intermediate file, reopen it fresh, and apply face recovery last. The app autosaves a recovery state, so I lost nothing. For a tool handling heavy AI inference locally, that's a fair trade.
One thing that matters on older Intel Macs: the fans will spin up. Denoising a batch of five high‑ISO images will get the machine warm. If you're working in a quiet shared space, people will hear it. Not a dealbreaker, just something to expect.
Starting a cold morning with tea, an old DSLR and underexposed ride shots
Thursday morning. I've got a flask of tea, a stack of photos from a community ride last weekend, and the Mac mini is still cold. The shots came off an old DSLR that tends to underexpose and get noisy above ISO 800 — perfect test material.
I open the first image, a wide shot of cyclists bunched at traffic lights. The sky has that speckled grey look. I hit the Denoise tab, drag the slider to 60, and watch the preview update. The grain dissolves; the spokes on the nearest wheel stay defined. That's the trick — pushing just far enough that the noise goes but the fine detail doesn't turn waxy. I've learned that around 50‑70 is the sweet spot for this camera's files.
Next image: a portrait of the ride leader, smiling but with a lamppost growing out of her head. I grab the removal tool, paint the top half of the lamppost, and wait. The app fills it with a reasonable guess at brick wall texture. Not perfect — there's a faint seam where the bricks don't quite line up — but at web resolution nobody will notice. If this were for print, I'd take it into a pixel editor later and clone the last few pixels manually.
By the third image I've settled into a rhythm: denoise, check the subject mask, remove anything distracting, save. Each file takes about three to five minutes. I'm not rushing. The app's pace encourages a kind of methodical calm — it does its thinking while I take a sip of tea.
One shot of a bike wheel close‑up needs sharpening. I paint the mask loosely over the spokes and hub, nudge the slider up, and immediately see the difference in the preview. The tyre tread pops; the blurred background stays soft. I export it, drop it into the shared folder for the ride report, and move on.
An hour later I've got nine cleaned‑up images, no crashes, and the Mac's fans have only kicked in briefly during a batch of three denoise passes in a row. The whole session felt less like wrestling with software and more like developing prints in a darkroom — each step deliberate, each decision visible straight away.
- macOS 11 (Big Sur) or later
- Intel 64-bit Mac
Questions from the bench
Does Topaz Photo AI process images on my Mac or in the cloud?
It processes everything locally on your Mac, so no upload queue and no internet dependency for the actual edits.
Which languages does the interface support?
The app works in English and Simplified Chinese.








 Back up
Bench talk (0)
Sign in or get a library card to pin up a note.
Nobody has chimed in on this card. If you have used it on an old Mac, say which one.